Ionic allows you to develop PWAs and hybrid mobile apps. PWAs are web applications that run in a browser and allow for offline capabilities via service workers. They can be installed on desktops and mobile devices, just like you install apps on your smartphone. Hybrid mobile apps are like native mobile apps, except they’re built using web technologies.
Ionic 2 was based on AngularJS. Ionic 3 was based on Angular. Ionic 4 allows you to use the most popular JavaScript frameworks available today: Angular, React, or Vue. This article focuses on the Angular version of Ionic 4. I’ll show you how to create an Ionic 4 app, add user authentication, and configure things to allow user registration.
If you don’t want to code along, feel free to grab the source code from GitHub!
Get Started with Ionic 4
To set up your environment to develop with Ionic, complete the following steps:
npm install -g ionic@4.12.0
Create an Ionic 4 Application
From a terminal window, create a new application using the following command:
ionic start ionic-login tabs
When prompted to install the Ionic Pro SDK, answer no.
It may take a minute or two to create your project, depending on the speed of your internet connection. The video below shows what this process looks like.
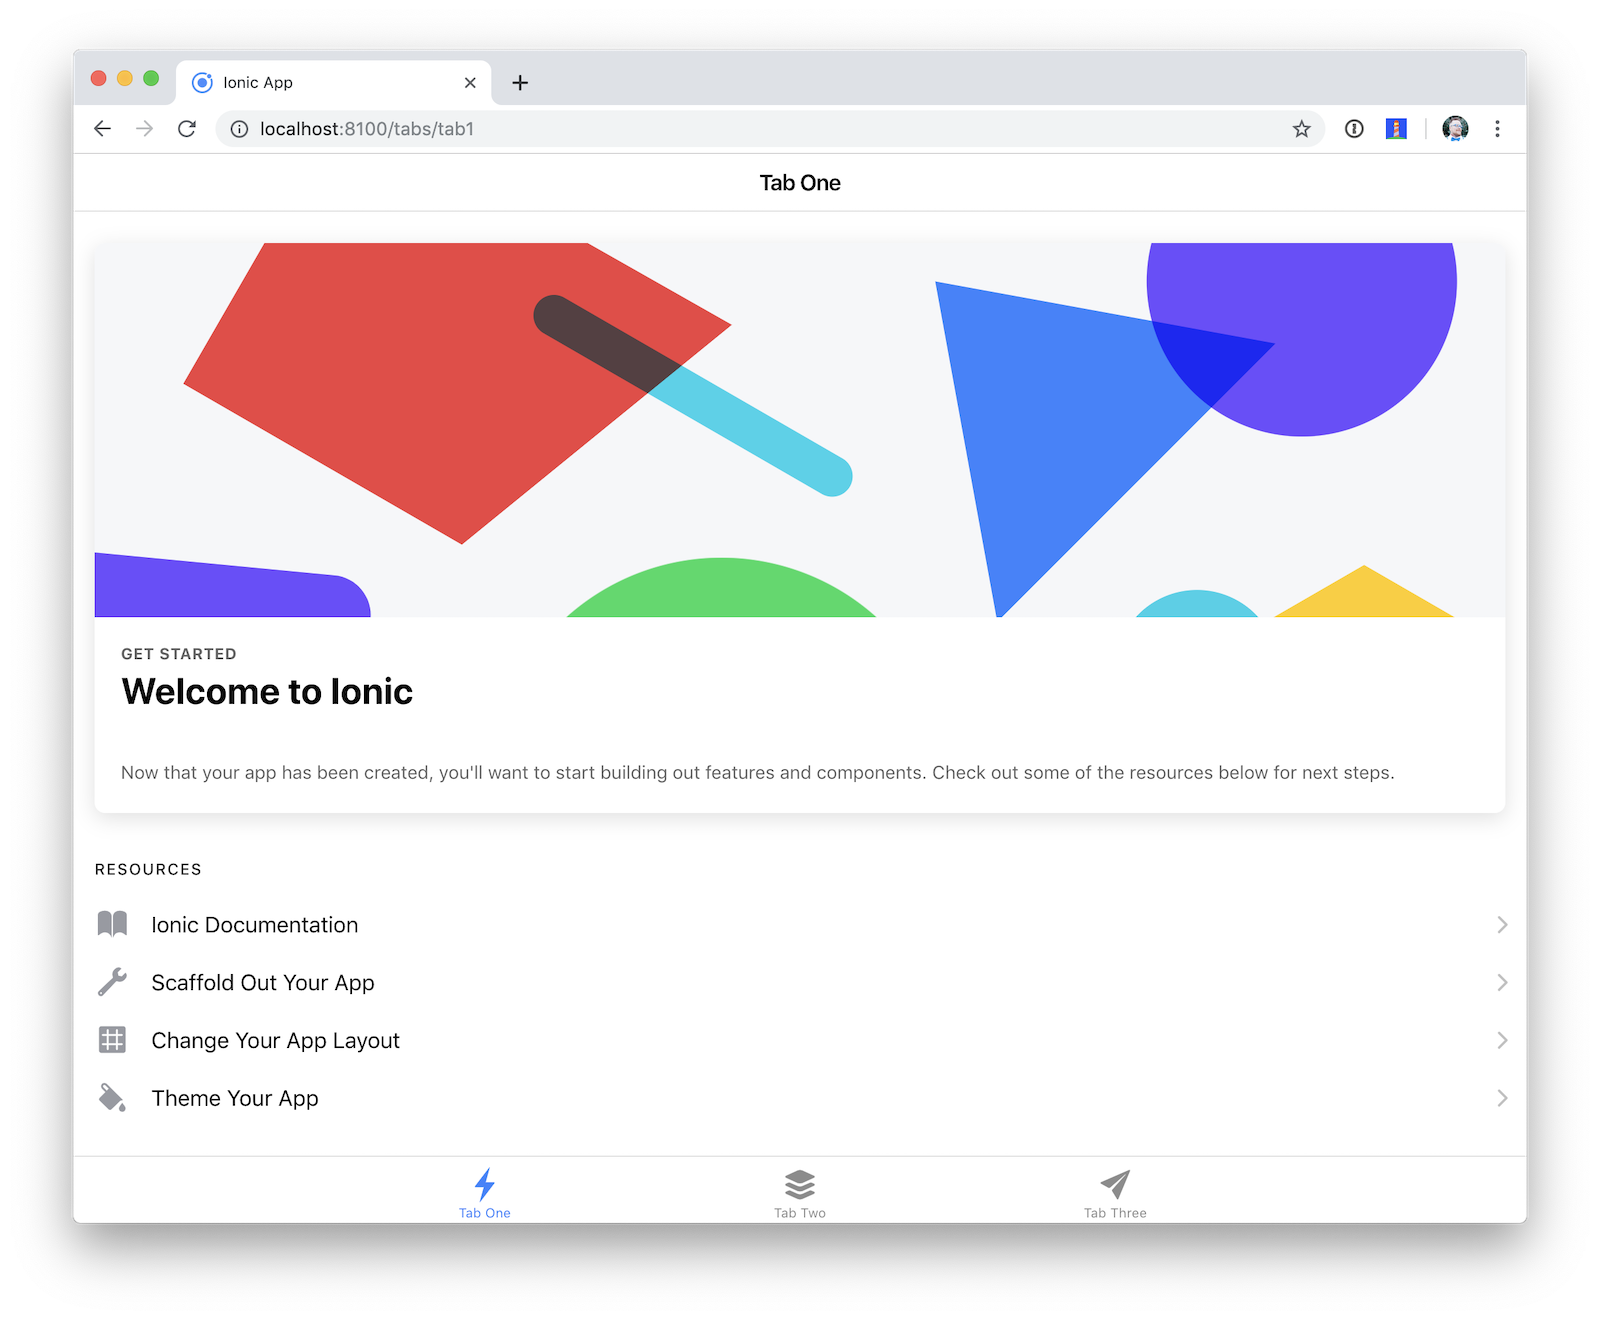
Once the process completes, start your Ionic 4 application.
cd ionic-login
ionic serve
This command will open your default browser and navigate to [http://localhost:8100](http://localhost:8100).
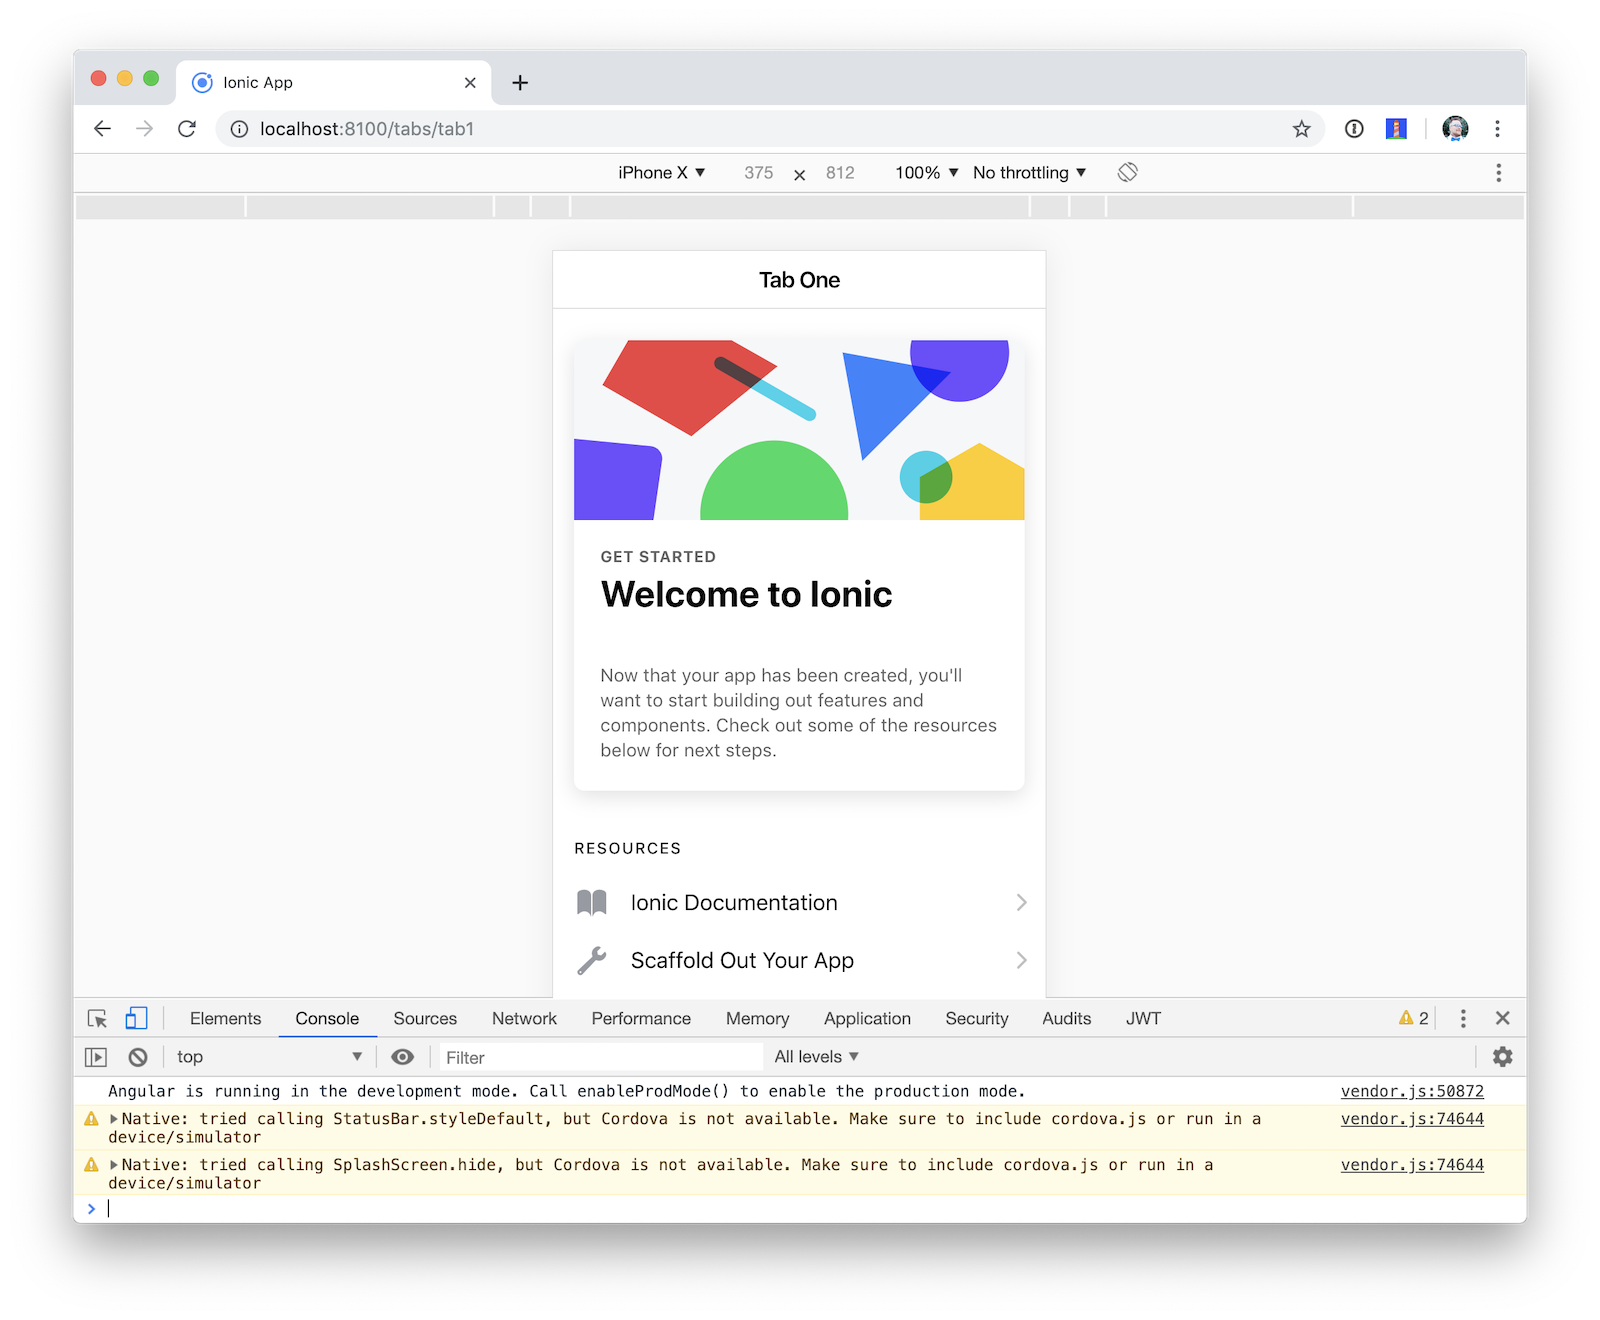
You can use Chrome’s device toolbar to see what the application will look like on an iPhone X.
Now let’s add a user login feature! Stop the ionic serve process using Ctrl+C before proceeding to the next step.
Add User Login
Schematics is a library from the Angular CLI project that allows you to manipulate projects with code. You can create/update files and add dependencies to any project that has a package.json file. I created an OktaDev Schematics project that makes it possible to add authentication to an Ionic 4 app using one command.
ng add @oktadev/schematics
Before you run this command, you’ll need to create an OpenID Connect (OIDC) app in Okta. OIDC builds on top of the OAuth 2.0 authorization framework. It allows clients to verify the identity of the user and get their details. If you’re not familiar with OAuth 2.0 or OIDC, I recommend you read What the Heck is OAuth?
Create an OpenID Connect App in Okta
To integrate Okta’s Identity Cloud for user authentication, you’ll need to signup for a developer account.
Log in to your Okta developer account and navigate to Applications > Add Application.

Select Native and click Next.

Enter a name for your application, such as Ionic 4 App. Add [http://localhost:8100/implicit/callback](http://localhost:8100/implicit/callback) as a Login redirect URI. Click Done to finish creating the application.

Click Edit and add Logout redirect URIs, where the first should be your reversed Okta domain name, followed by :/logout and the second is [http://localhost:8100/implicit/logout](http://localhost:8100/implicit/logout). Click Save.

Near the bottom of your application’s settings, you will find a section titled Client Credentials. Copy the Client ID and paste it somewhere handy. You will need this soon.

Navigate to API > Authorization Servers and copy your issuer URI.

Use OktaDev Schematics to Add User Login
Now that you have a client ID and issuer URI, you can install Angular CLI, and add a user login feature using ng add.
npm i -g @angular/cli@7.3.9
ng add @oktadev/schematics --issuer=$issuer --clientId=$clientId
The video below shows how this command performs the following steps:
- Adds and installs
@oktadev/schematicsas a dev dependency - Adds Ionic AppAuth as a dependency
- Adds @ionic/storage as a dependency
- Adds services, modules, and pages to
src/app/auth - Adds a login page and related files to
src/app/login - Adds a
cordovasection topackage.jsonthat defines plugins and a custom URL scheme - Updates existing files to handle authentication logic
If you’d like to see the source code for the templates that are installed, you can find them on GitHub.
It’s pretty sweet that OktaDev Schematics automates all of this for you, don’t you think?!
Test User Login
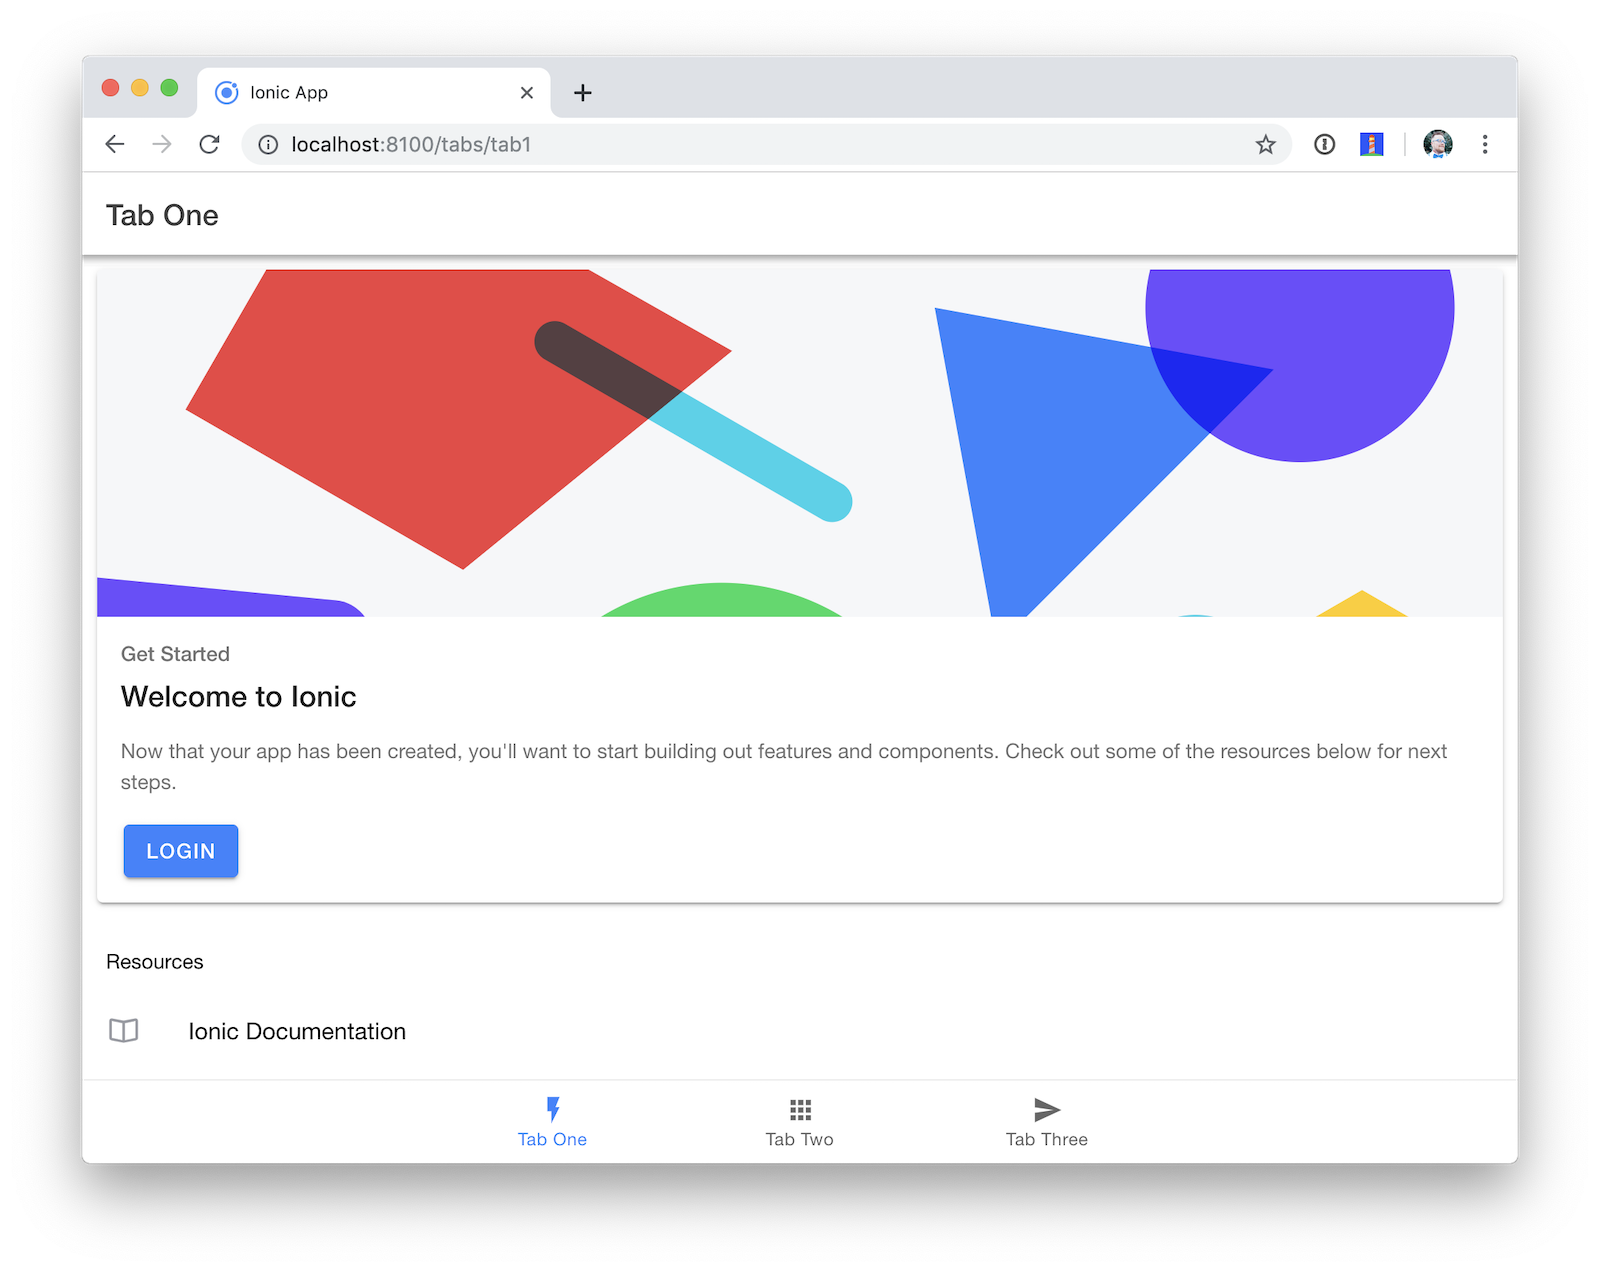
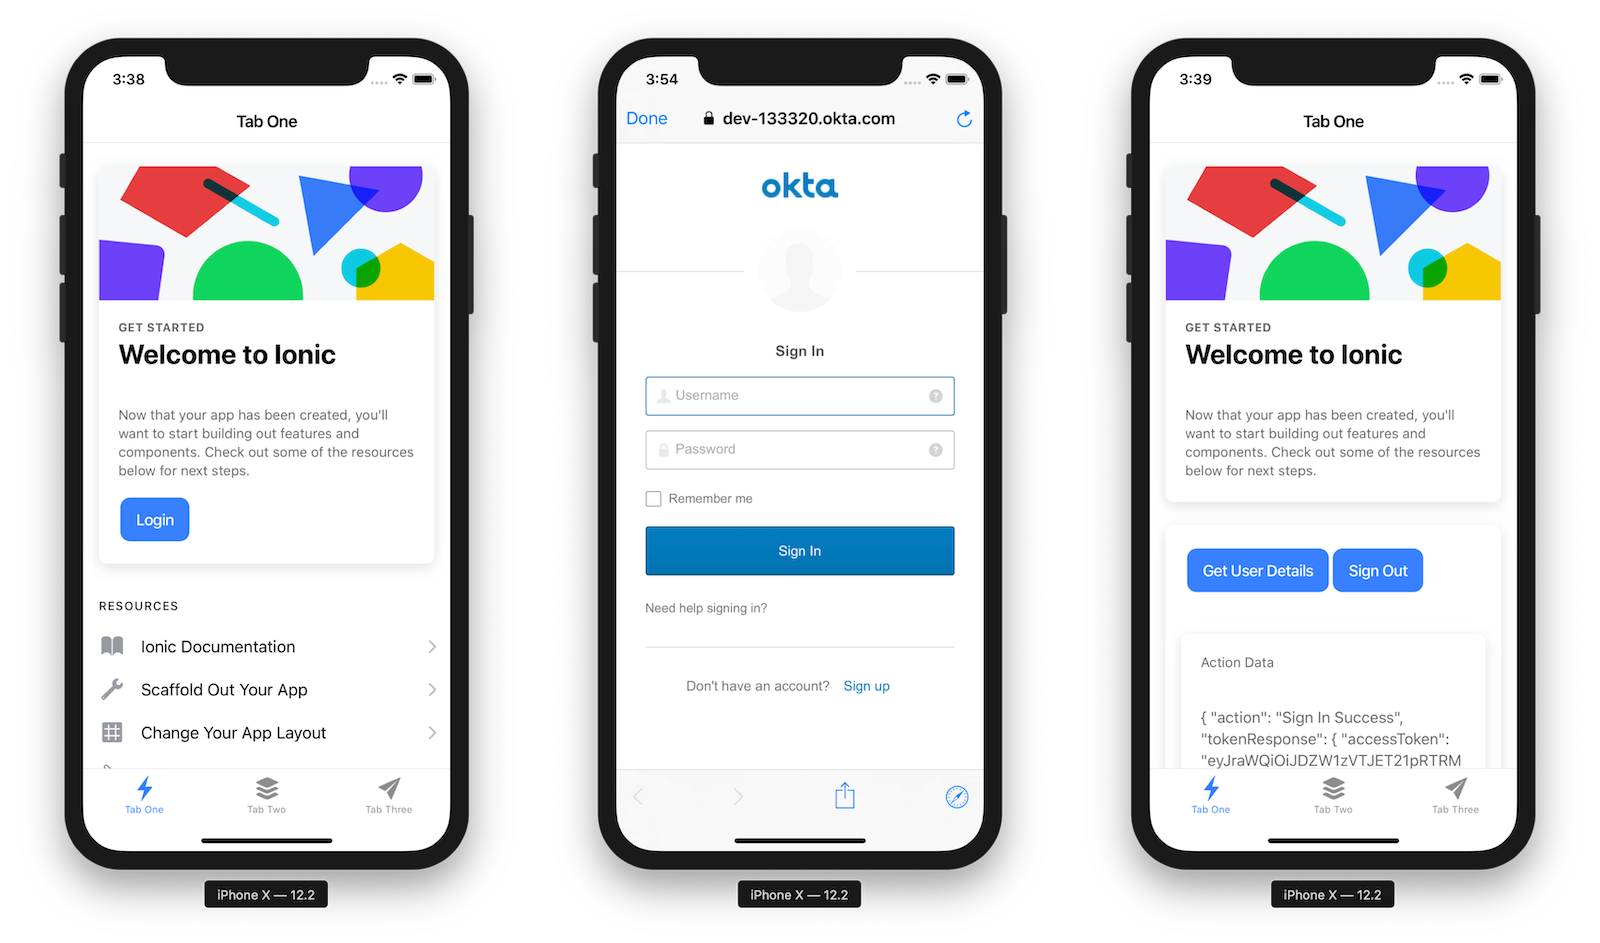
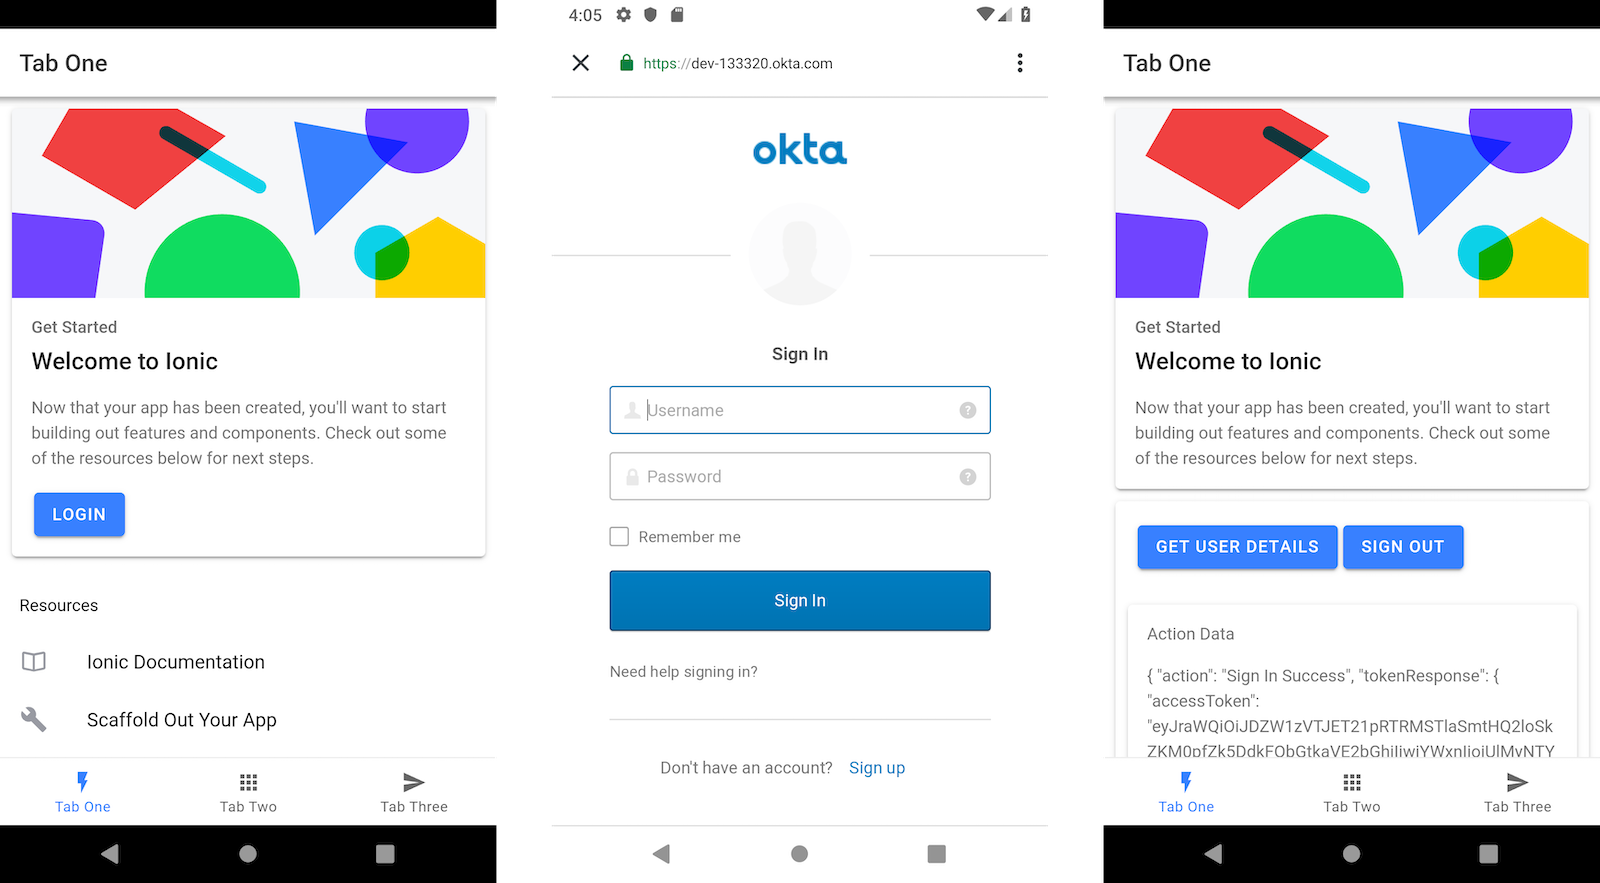
Start your Ionic 4 application using ionic serve. Your app now has a login button. Click on it to authenticate with Okta using OIDC.
It’s likely that you’re already logged into your Okta account, so you’ll be redirected back to your app and see a screen like the following.
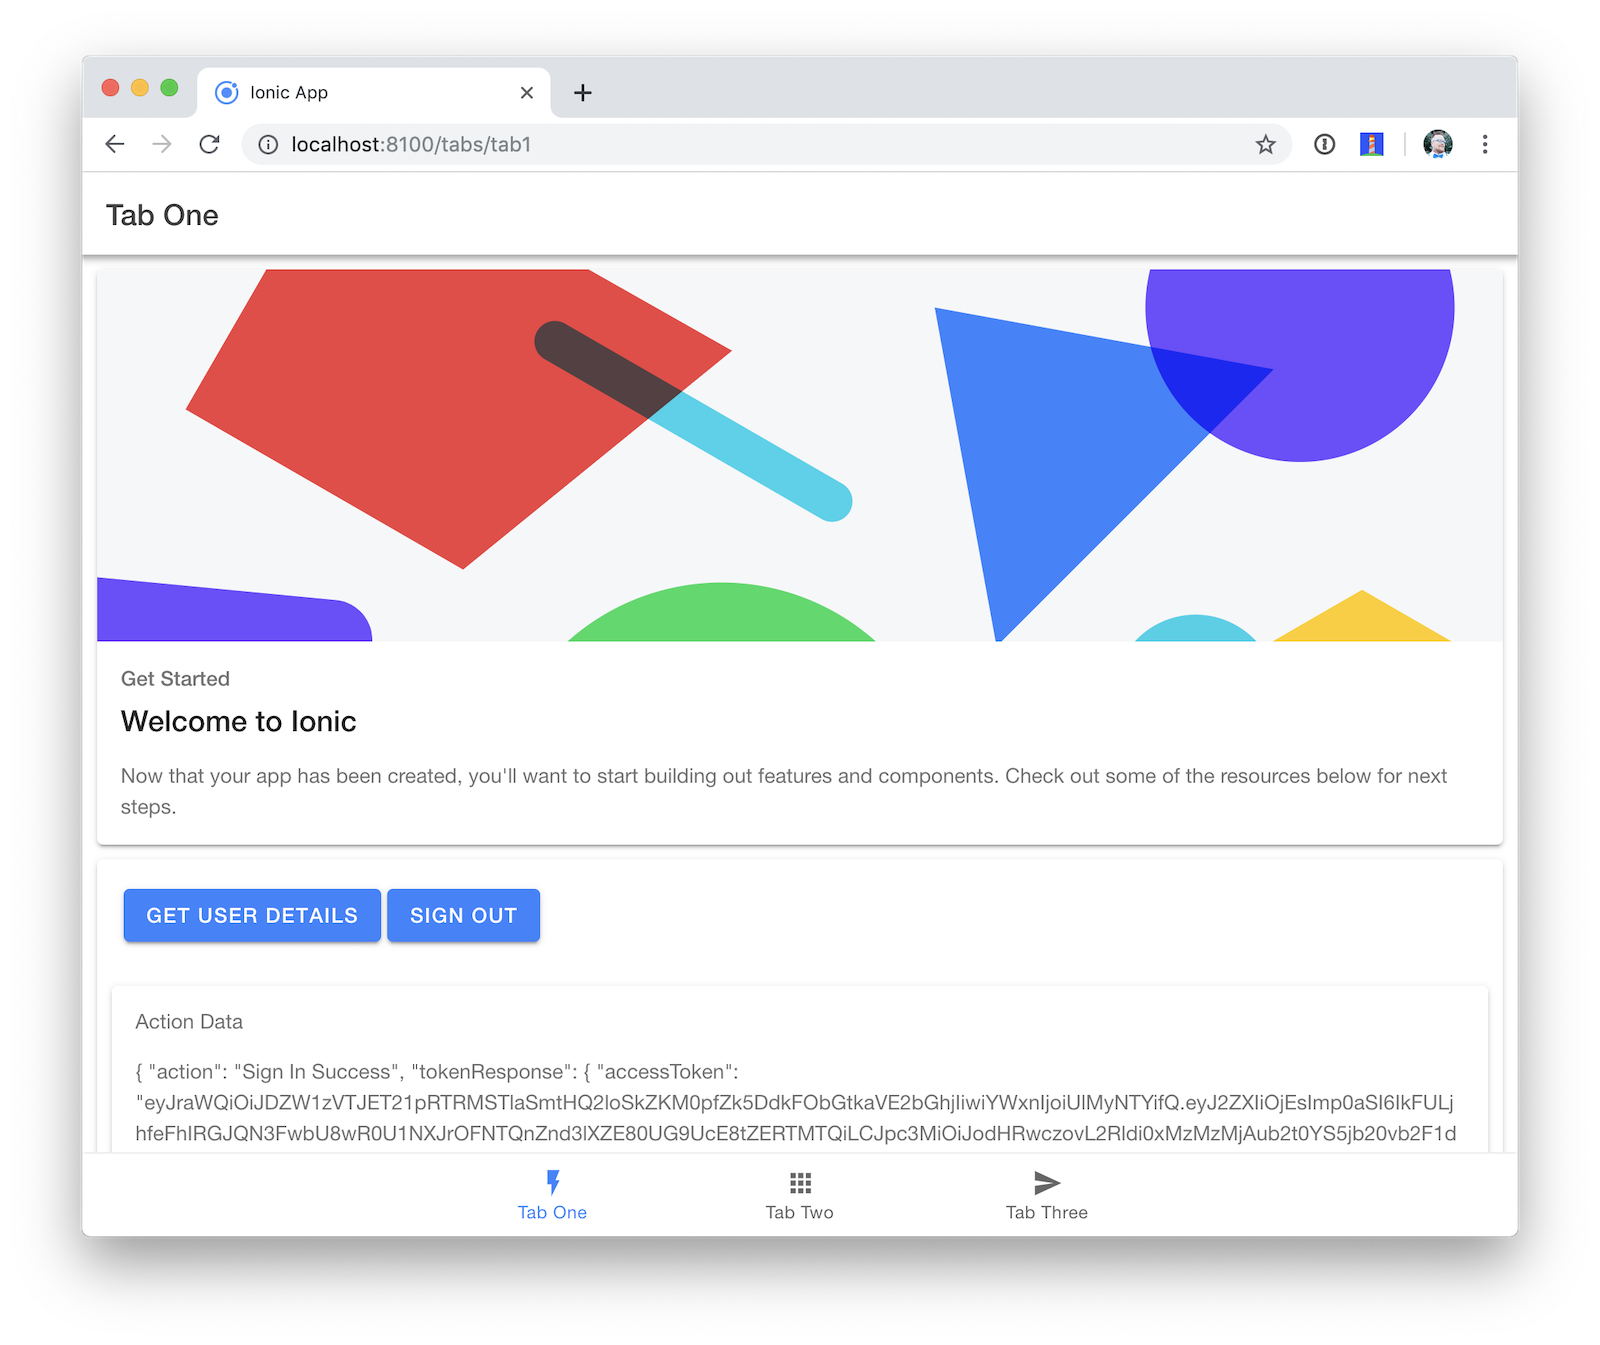
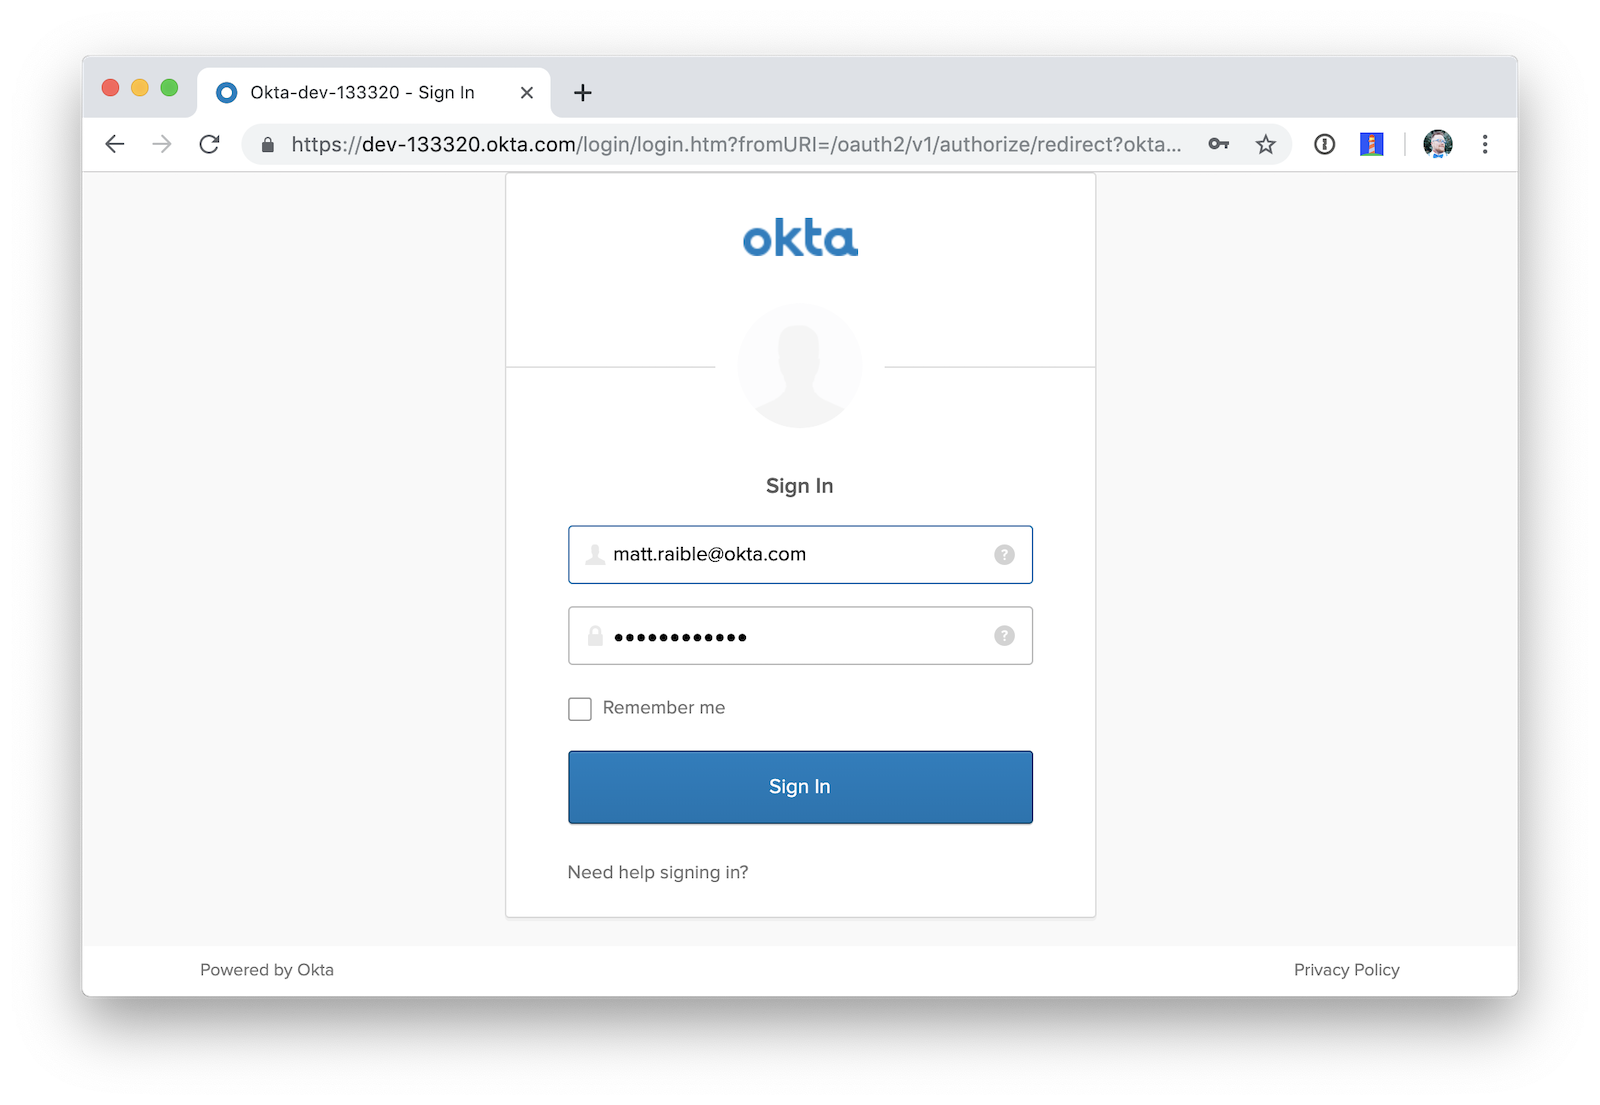
If you click Sign Out and Sign In again, you’ll be prompted for your credentials.
After you’re redirected back to your app, you can click the User Info button to retrieve your user details from Okta.

Add User Registration
Next, enable user registration. This will allow new users to create their own account. Click on the Users menu and select Registration.

Click Enable Registration.

On the subsequent page, click Save to complete the process of enabling user registration.

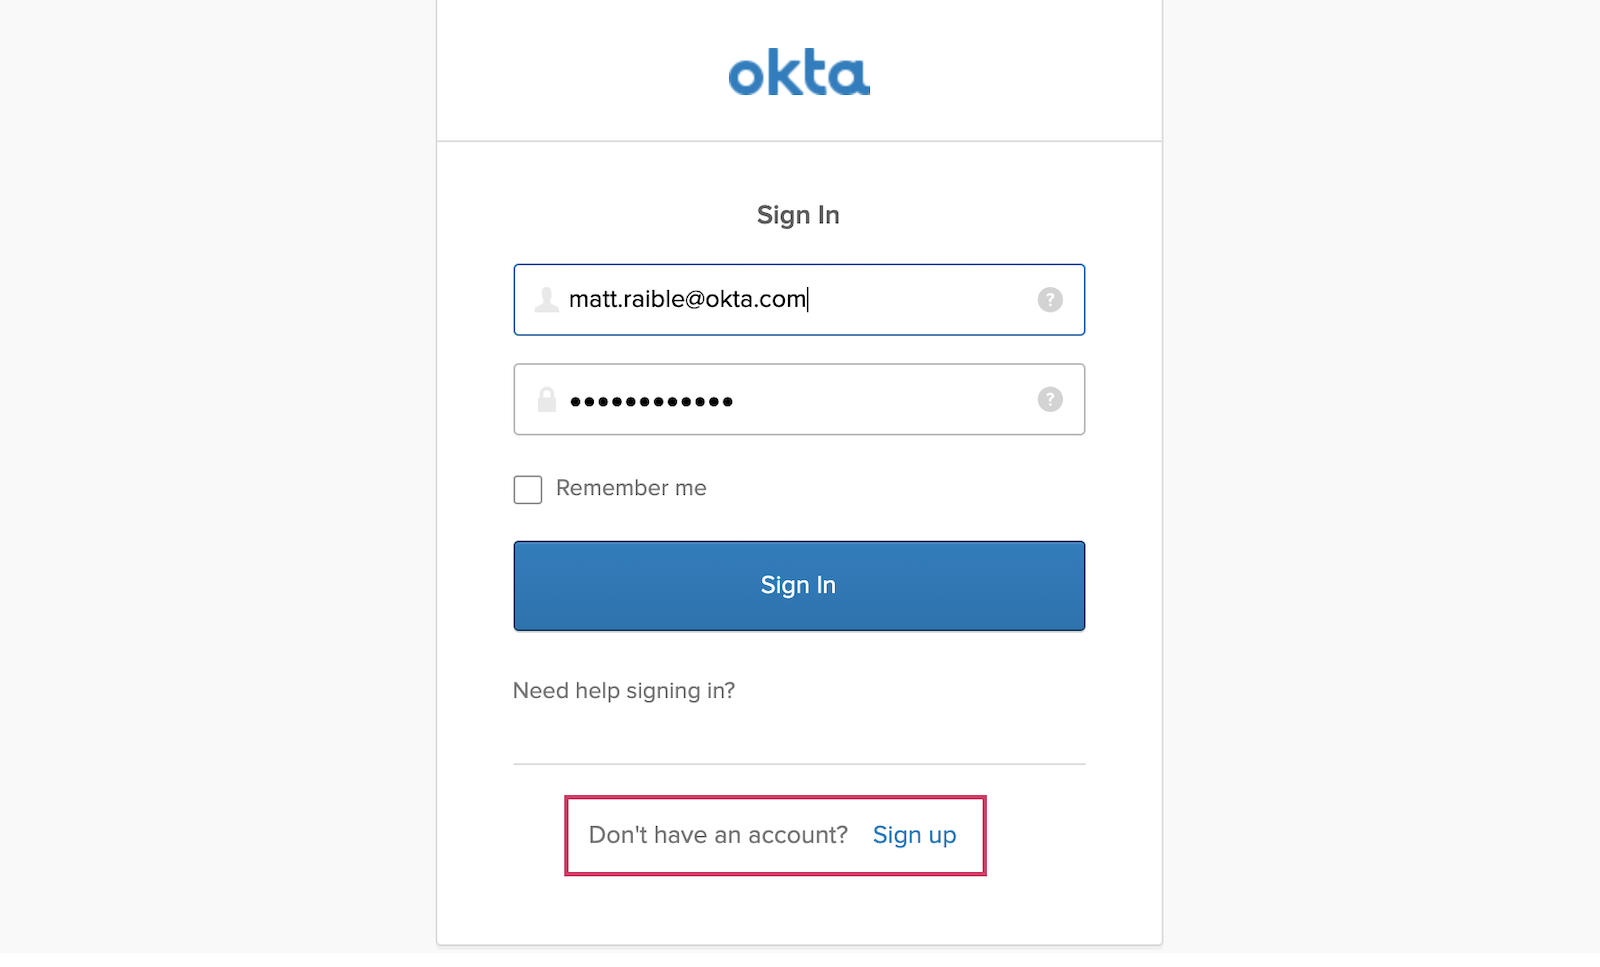
Now if you go back to your app, sign out, then sign in again, you’ll see a signup link at the bottom of the login form.
Click on the link and you’ll see a user registration form. Fill it out and click Register.
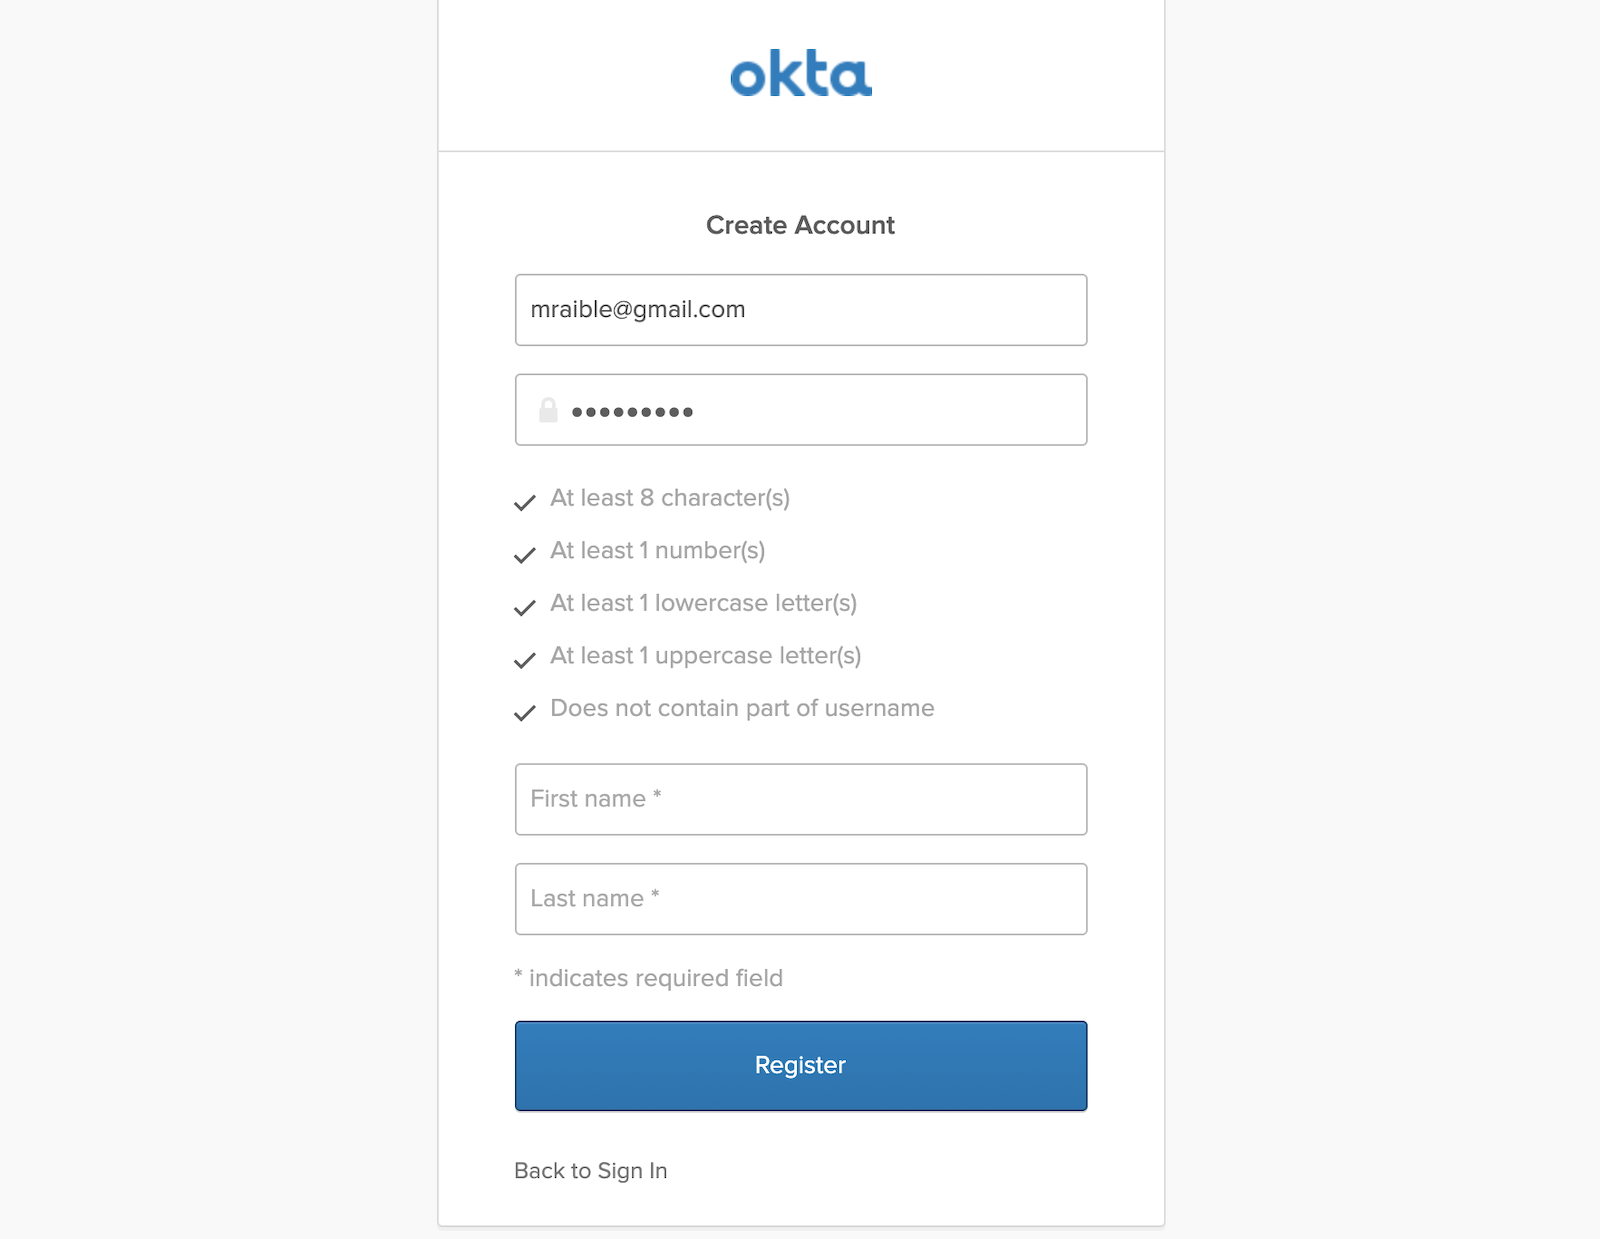
You’ll receive an email to verify you’re real. Click on the Activate Account once you receive it, and you should be good to go!
Run Your Ionic 4 App on iOS
To generate an iOS project for your Ionic application, run the following command:
ionic cordova prepare ios
When prompted to install the ios platform, answer yes. When the process completes, open your project in Xcode:
open platforms/ios/MyApp.xcworkspace
NOTE: If you don’t have Xcode installed, you can download it from Apple.
You’ll need to configure code signing in the General tab, then you should be able to run in Simulator. Below are screenshots of it running on an emulated iPhone X.
Run Your Ionic 4 App on Android
The most important thing to know when running your Ionic app on Android is that you need Java 8 installed. Anything above Java 8 will not work. If you need to switch between Java SDK versions – like I often do – I recommend installing SDKMAN! I ran the command below to downgrade from Java 11 to Java 8 in my terminal window:
sdk use java 8.0.202-amzn
You can then generate an Android project.
ionic cordova prepare android
When prompted to install the android platform, answer yes. After this process completes, open your platforms/android directory as a project in Android Studio.
studio platforms/android
NOTE: You will need to have Android Studio 3.3+ installed and have run Tools > Create Command-line Launcher for the command above to work.
Running with Android Studio 3.3.2
When I first tried this in Android Studio, I received a Gradle Sync error:
The minSdk version should be declared in the android manifest file.
In the right pane, it offered a link for me to click on to fix the issue. I clicked on it, then clicked Do Refactor.

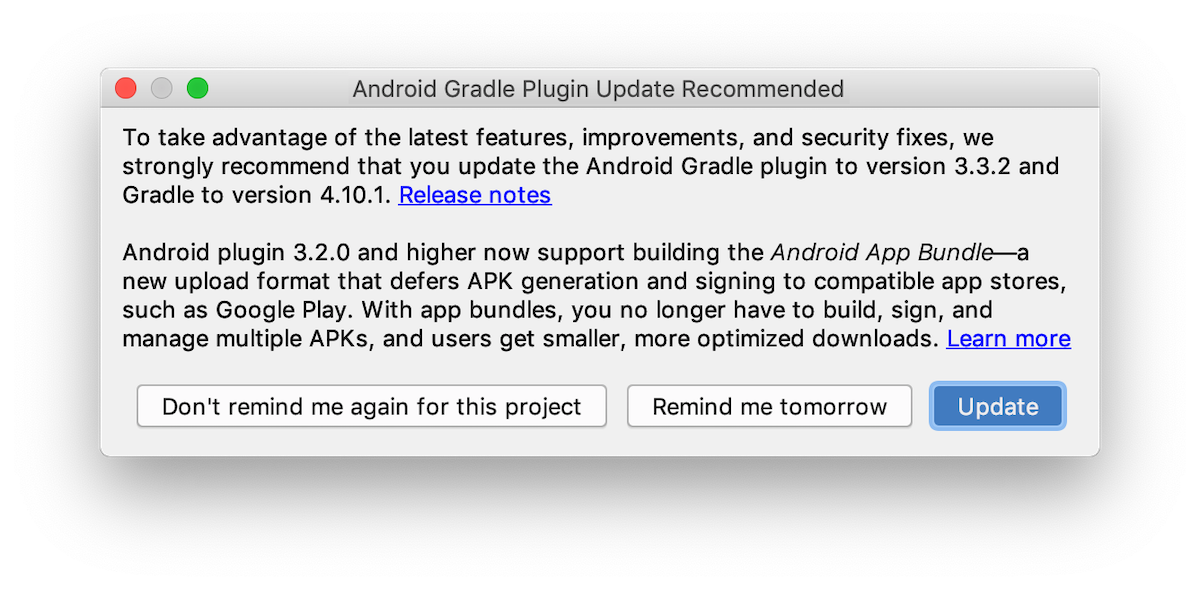
I was prompted to update Gradle and clicked Update.
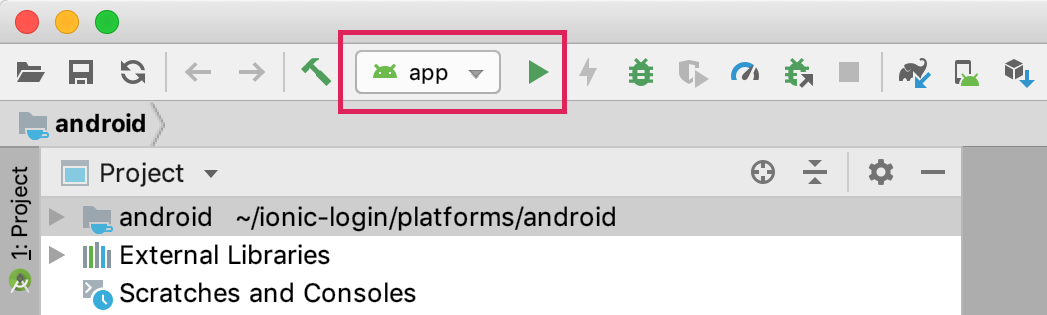
After these changes, my app showed up in the top toolbar.
Running with Android Studio 3.4
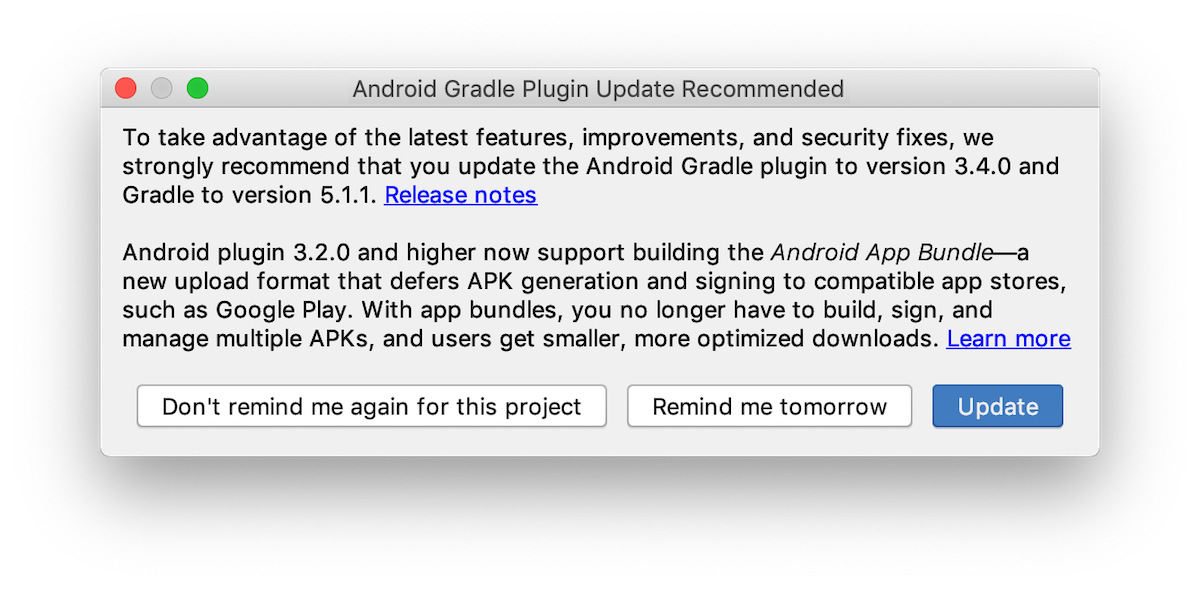
When I tried opening the project in Android Studio 3.4, I was prompted to update Gradle again.
After doing so, I received the following error:
WARNING: The following project options are deprecated and have been removed:
android.useDeprecatedNdk
NdkCompile is no longer supported
I found an open issue in the Cordova Android project that shows how to fix it. Open android/gradle.properties and turn off useDeprecatedNdk.
android.useDeprecatedNdk=false
Set LaunchMode to [singleTask](https://developer.okta.com/blog/2019/06/20/ionic-4-tutorial-user-authentication-and-registration#set-launchmode-to-singletask)
You need to make one additional change for everything to work properly on Android. You need to set the launchMode from singleTop to singleTask so the URL does not trigger a new instance of the app. Edit platforms/android/app/src/main/AndroidManifest.xml to make this change:
<activity android:configChanges="orientation|keyboardHidden|keyboard|screenSize|locale"
   android:label="@string/activity_name"
   android:launchMode="singleTask"
   android:name="MainActivity"
   android:theme="@android:style/Theme.DeviceDefault.NoActionBar"
   android:windowSoftInputMode="adjustResize">
Now you should be able to click the play button in Android Studio to start your app.
You will be prompted to select an existing AVD (Android Virtual Device) or you can plug in your Android phone and use that. If you have neither, click the Create New Virtual Device Button.
Below are screenshots of the app running on a Pixel 2 AVD.
What About Capacitor?
Capacitor is a project from the Ionic folks that offers an alternative to Cordova. Capacitor 1.0 was released last month. The OktaDev Schematics project provides support for Capacitor with a --platform=capacitor flag. For example:
ng add @oktadev/schematics --platform=capacitor
NOTE: This integration uses Ionic’s native HTTP plugin for Cordova because the default HTTP from Capacitor uses a capacitor://localhost origin header and Okta only supports http origins.
Thanks for reading ❤
If you liked this post, share it with all of your programming buddies!
Follow us on Facebook | Twitter
Learn More
☞ Ionic 4 Angular- Build Web App, Native Android, IOS App
☞ Ionic 4 Crash Course with Heartstone API & Angular
☞ Ionic 4 - Build PWA and Mobile Apps with Angular
☞ Ionic 4 and Angular 7 Tutorial: HTTP Interceptor Example
☞ Push Notification using Ionic 4 and Firebase Cloud Messaging
☞ Building a mobile chat app with Nest.js and Ionic 4
☞ Add authentication, typing indicators and file attachments to an Ionic 4 chat app
☞ Ionic 4 & Angular Tutorial For Beginners - Crash Course
☞ Ionic 4, Angular 7 and Cordova Crop and Upload Image
#ionic #angular #web-development